
Add source images
Drop JPG, PNG, WebP or GIF files into the workspace. The upload area shows the active size and batch limits.
Creavax product guide
Upscaler is a local browser workspace for preparing images through batch import, resize, transform, clarity, compression, metadata removal and export.
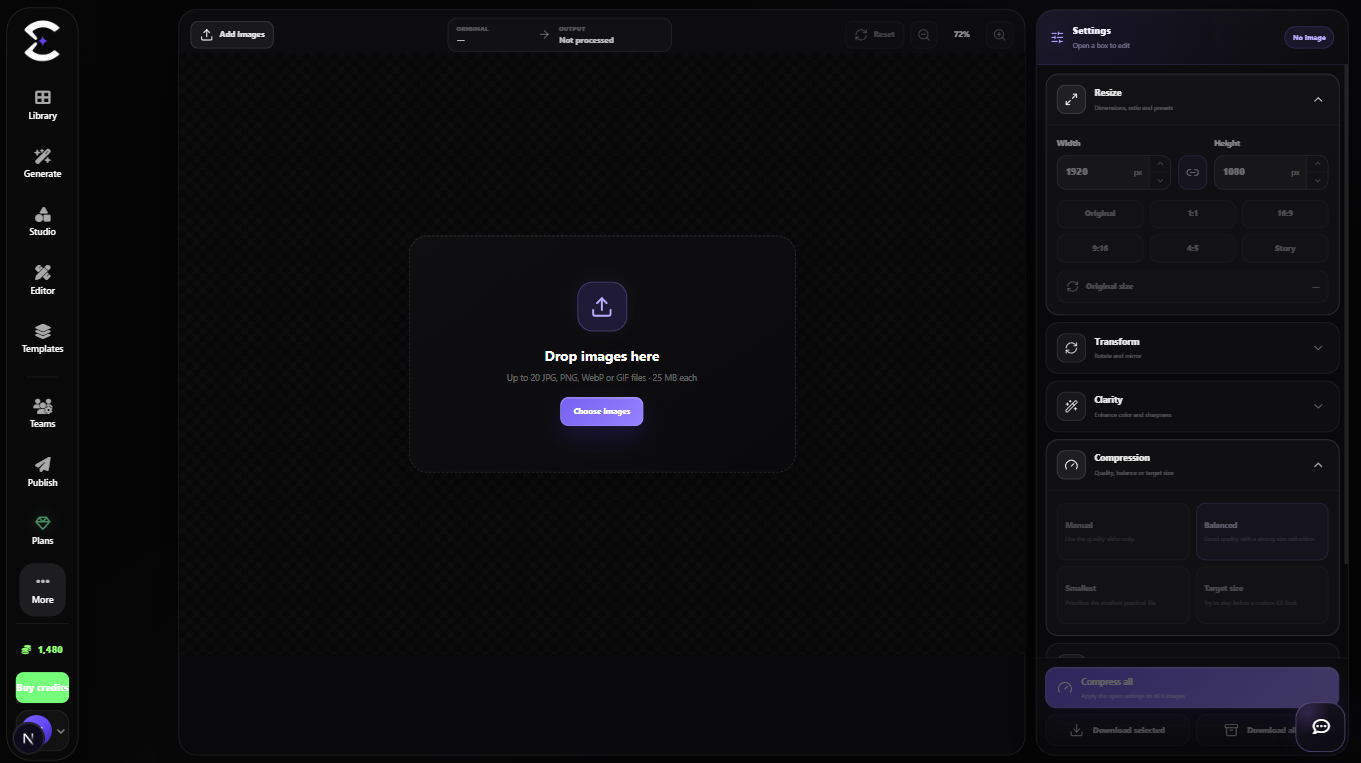
Upscaler processes supported images on your device, offers batch controls and strips detected metadata from exported files.
Quick start
Follow this order for a clean first pass. You can return to the deeper sections when a permission, billing choice or destructive action needs more context.
Drop JPG, PNG, WebP or GIF files into the workspace. The upload area shows the active size and batch limits.
Select an image in the batch queue and review its original dimensions, file size and detected metadata.
Use Resize, Transform, Clarity, Compression and Export controls without stacking unnecessary processing.
Run Compress, open Before / After, inspect detail and file size, then download one result or the completed batch.
Core capabilities
Use these capabilities to understand what belongs here, what connects to another workspace and which actions change public, billing or account state.
Import several files, switch between them and keep processing state attached to each queue item.
Set exact dimensions, lock aspect ratio, use common presets, rotate and mirror horizontally or vertically.
Use a quality slider, balanced reduction, smallest practical output or a custom target size in KB.
Processing stays on the device and the exported file removes detected metadata, including GPS when present.
Detailed workflow
These sections explain the decisions that matter most before you organize assets, spend credits, publish content, collaborate or change account access.
Keep aspect ratio locked when you need the same composition at a different size. Unlock it only when the destination requires exact dimensions and you accept a changed shape.
The workspace supports common ratios and an original-size reset. Dimensions are normalized to the limits enforced by the editor.
Clarity controls can improve perceived detail, but excessive sharpness or color adjustment can produce halos and unnatural edges. Use small changes and verify them in the comparison view.
Choose Target size only when a platform has a strict upload limit. Balanced is a safer default when visual quality and file size are both important.
JPG is efficient for photographic output, PNG is useful for transparency and graphics, and WebP is useful for modern web delivery. Source GIF files can be imported, but animated output is not preserved by the canvas export pipeline.
The Image details panel reports detected metadata. Export creates a new file without those metadata fields, while the source file on your device remains unchanged.
Best practices
Frequently asked
Quick answers to the questions that most often come up before using this workspace.
No. Upscaler processes supported images on your device and creates the export locally in the browser workflow.
You can import JPG, PNG, WebP and GIF. Export options include JPG, PNG and WebP. Animated GIF output is not preserved by the canvas export pipeline.
Yes. The interface reports detected fields and creates an exported file without those embedded metadata fields, including detected GPS information.
Continue learning
Continue with the next workspace only when it supports the same task, billing context or publishing flow.
Ready to use the real workspace?
Open Upscaler, complete one small real task and return to this page when you need the detailed workflow.