
Choose an eligible result
Open the Feed tab and select a supported image, video, audio, 3D or Studio result. Text and document-only outputs are excluded.
Creavax product guide
Publishing happens where the work is created: eligible Generate and Studio media can be sent to Explore, while published Feed items are managed from Library and Templates remain managed from Template Builder.
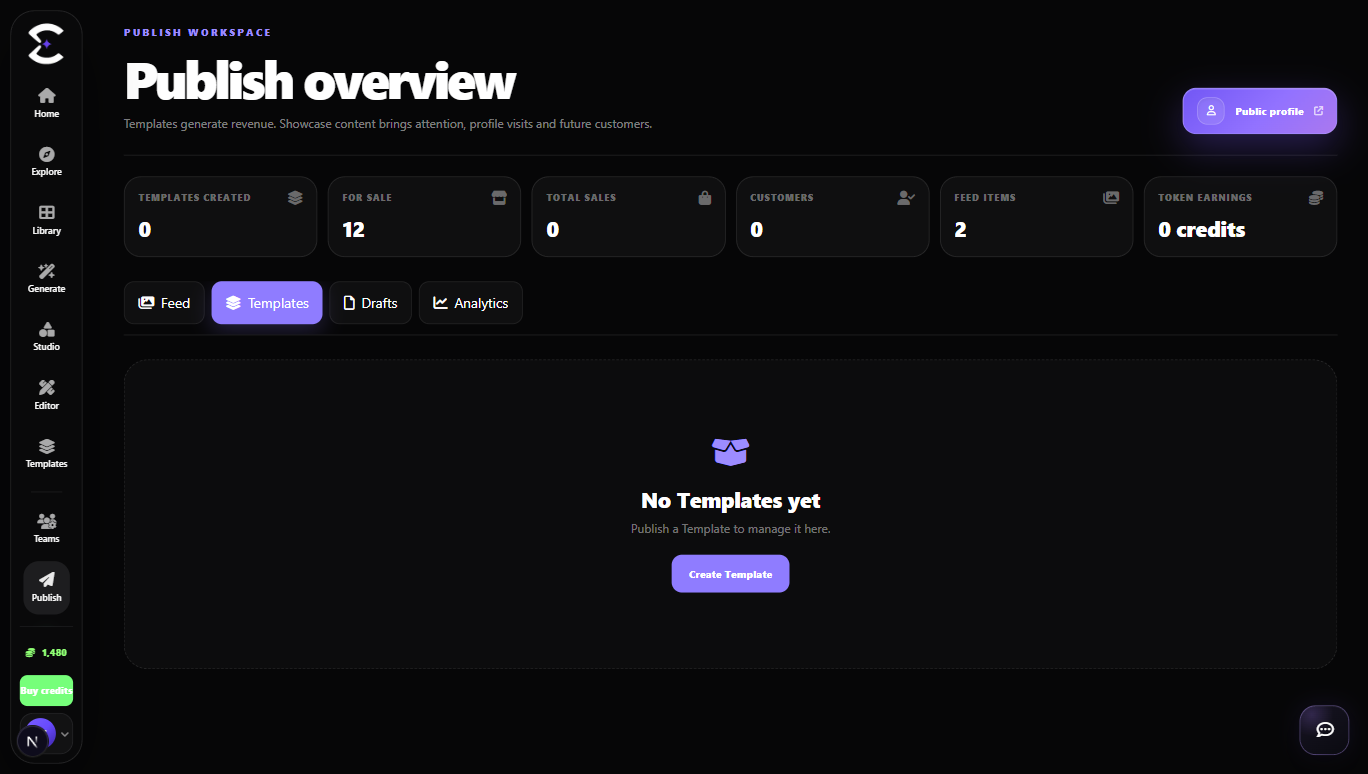
Review eligible media where it was created, complete the public details, then manage its Explore state from Library.
Quick start
Follow this order for a clean first pass. You can return to the deeper sections when a permission, billing choice or destructive action needs more context.
Open the Feed tab and select a supported image, video, audio, 3D or Studio result. Text and document-only outputs are excluded.
Open the candidate card, verify the source prompt, model, media and final output before making it public.
Enter a meaningful title and short description. Required fields must be complete before Add to Explore can succeed.
Open Library > Explore to review or remove the public listing while keeping the original generation or uploaded file.
Core capabilities
Use these capabilities to understand what belongs here, what connects to another workspace and which actions change public, billing or account state.
Eligible visual, video, audio, 3D and Studio media created in Generate or Studio appear ready for review.
Published Feed items are managed from Library > Explore, while publishing starts from eligible Generate and Studio outputs.
Review public or private Templates, edit their project, use them and continue unfinished Template drafts.
Track supported metrics such as profile views, Feed views, likes, saves, followers and Template performance.
Detailed workflow
These sections explain the decisions that matter most before you organize assets, spend credits, publish content, collaborate or change account access.
Generate and Studio expose Add to Explore only for supported media such as images, video, audio, 3D and Studio output. Text and document-only results are not Feed candidates.
Open a candidate before publishing. The preview helps confirm that the selected output, source prompt and model are the ones you intended to share.
A Feed item needs a title and short description. The backend validates these fields, so an empty or incomplete form cannot be bypassed by the interface.
Items can move through states such as draft, pending review, published, hidden or rejected. The available actions depend on the current state.
The Templates tab lists reusable workflows and their visibility. Template drafts are loaded from unfinished Template Builder projects so they can be reopened instead of recreated.
Analytics summarize discovery and engagement. Use them to compare similar content over time, not as a replacement for credit, revenue or checkout records.
Best practices
Frequently asked
Quick answers to the questions that most often come up before using this workspace.
Supported images, videos, audio, 3D and Studio media from Generate or Studio can be eligible. Text and document-only outputs are excluded.
The title, short description or another required publishing condition may be incomplete. Open the candidate and resolve the validation message shown by the interface.
No. Public listing actions and source-file deletion are separate. The confirmation text explains whether the original Library item is kept.
Continue learning
Continue with the next workspace only when it supports the same task, billing context or publishing flow.
Ready to use the real workspace?
Open Publish, complete one small real task and return to this page when you need the detailed workflow.