Open the source image
Start with the highest-quality version you want to preserve and keep the original available before making destructive changes.
Creavax product guide
The Image Editor combines direct canvas controls with prompt-based editing and targeted AI Region Edit so you can finish an image without rebuilding it from scratch.
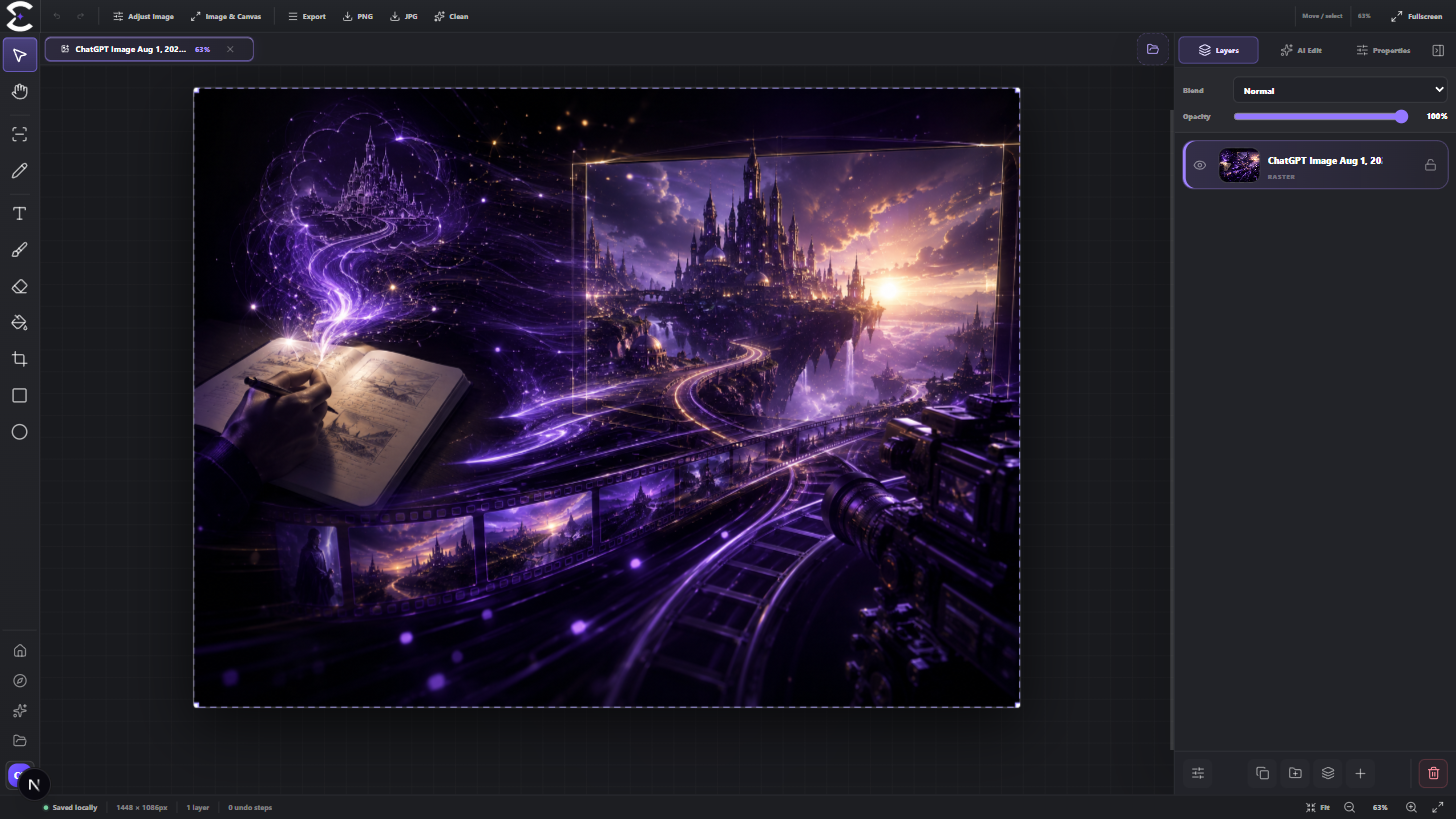
Open the source image, choose the smallest useful edit and keep the original available while you refine the result.
Quick start
Follow this order for a clean first pass. You can return to the deeper sections when a permission, billing choice or destructive action needs more context.
Start with the highest-quality version you want to preserve and keep the original available before making destructive changes.
Use normal canvas tools for precise adjustments and prompt editing when describing the desired change is faster.
Use Marquee or Lasso to define the area that should receive a targeted AI edit.
Compare the result with the source, undo when needed and export only after the final image is ready.
Core capabilities
Use these capabilities to understand what belongs here, what connects to another workspace and which actions change public, billing or account state.
Crop, resize, move, draw, erase and adjust the image directly in the browser.
Describe a visual change in natural language and bring the resulting edit back into the workspace.
Create a selection mask so the requested AI change is targeted to a specific area.
Keep source and edited versions organized so you can compare, undo and export with more control.
Detailed workflow
These sections explain the decisions that matter most before you organize assets, spend credits, publish content, collaborate or change account access.
Manual tools are better for exact geometry, crop, cleanup and simple adjustments. AI is more useful when the requested visual change would take much longer to build by hand.
Choosing the smallest useful edit reduces unintended changes and makes comparison easier.
Keep the original image or source layer available before applying several rounds of editing. This gives you a clean comparison point and a safe way back.
Review the selected region and prompt before sending an AI edit, then inspect the whole image rather than only the changed area.
Best practices
Frequently asked
Quick answers to the questions that most often come up before using this workspace.
Use Region Edit when the change should be limited to one object or area. Use a normal prompt edit when the requested change affects the broader image.
No. Manual editing tools remain available when you want direct control without requesting an AI edit.
Continue learning
Continue with the next workspace only when it supports the same task, billing context or publishing flow.
Ready to use the real workspace?
Open Image Editor, complete one small real task and return to this page when you need the detailed workflow.