
Check the active account
Open Settings and confirm whether Personal or an eligible team should pay for new billed work.
Creavax product guide
Start with the smallest complete workflow: choose the active credit account, create one result, keep it organized and move to Studio, Editor or another workspace only when the task needs it.
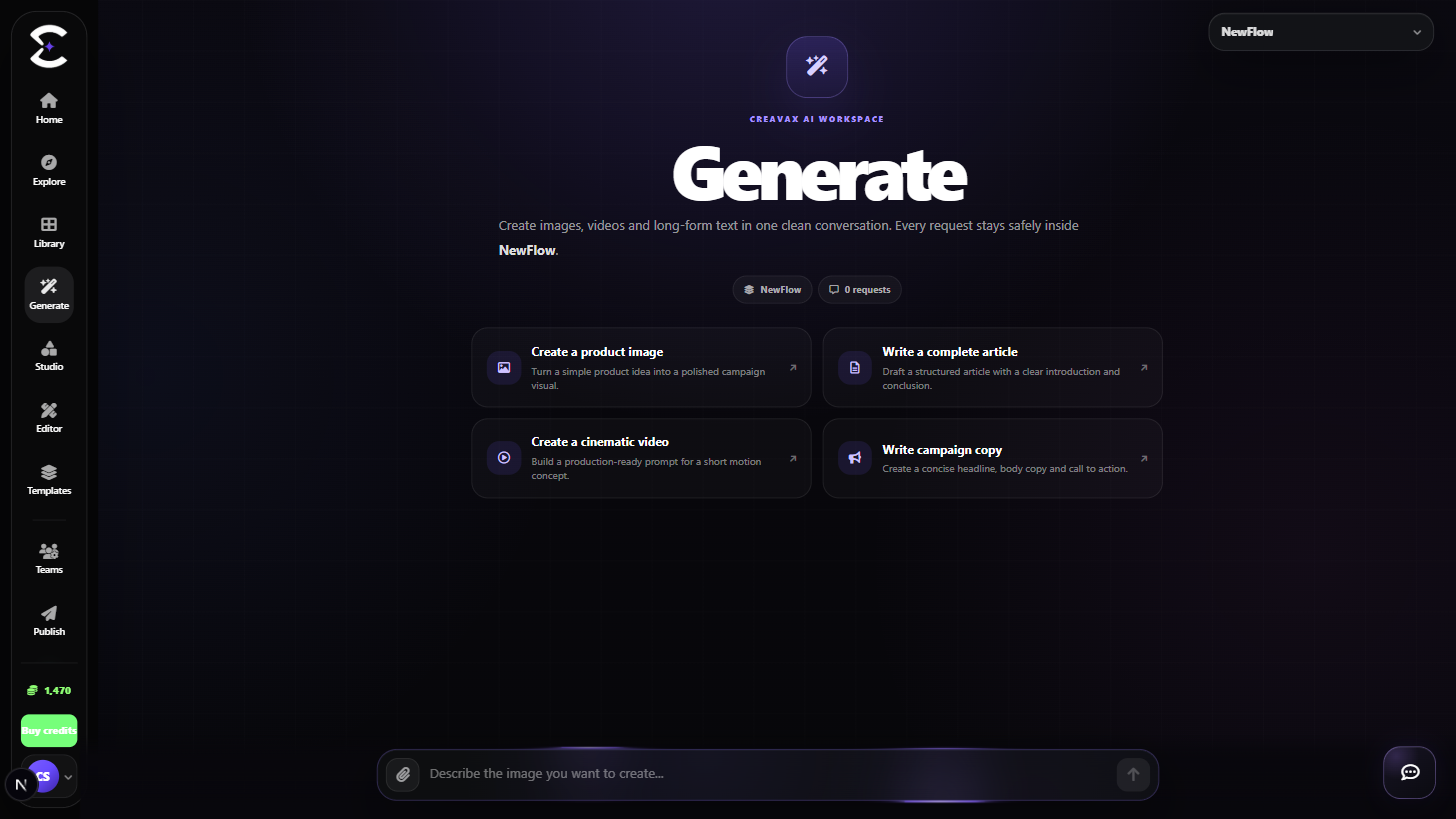
Create one useful result first. Then learn where it is stored, how credits are charged and which workspace should handle the next change.
Quick start
Follow this order for a clean first pass. You can return to the deeper sections when a permission, billing choice or destructive action needs more context.
Open Settings and confirm whether Personal or an eligible team should pay for new billed work.
Open Generate, choose the intended output or Auto, select a compatible model and submit a clear first prompt.
Open Library > Generated Results and confirm the output is stored with the correct source and actions.
Use Studio for connected creative directions, Image Editor for targeted visual changes, Upscaler for delivery preparation and Templates for repeatable workflows.
Core capabilities
Use these capabilities to understand what belongs here, what connects to another workspace and which actions change public, billing or account state.
Generate provides a simple starting surface for supported image, video, audio, text and 3D creation.
Library keeps uploads, generations, saved references and owned creations separated by source.
Use specialized workspaces only when the next task needs branching, editing, upscaling, publishing or collaboration.
Settings and credit surfaces make the active personal or team wallet visible before paid work begins.
Detailed workflow
These sections explain the decisions that matter most before you organize assets, spend credits, publish content, collaborate or change account access.
New users learn Creavax faster by completing one full loop instead of opening every workspace at once. Generate a useful result, locate it in Library and then choose the next tool based on the job that remains.
Avoid tuning every advanced control on the first request. Model-specific settings are easier to understand after you have seen one successful output and its credit behavior.
Studio is for developing connected directions and versions. Image Editor is for direct manual, prompt-based or region editing. Upscaler is for resize, clarity, compression and final export. Templates are for repeatable workflows.
This separation keeps each workspace focused and prevents one tool from becoming a confusing all-purpose surface.
Best practices
Frequently asked
Quick answers to the questions that most often come up before using this workspace.
For most new users, start in Generate. It teaches the output, model, prompt and credit flow that connects to the rest of Creavax.
No. Use Studio when you need connected creative directions or version development. Simple one-off creation can stay in Generate.
Open Library > Generated Results for supported outputs created through Generate, Studio and Template runs.
Continue learning
Continue with the next workspace only when it supports the same task, billing context or publishing flow.
Ready to use the real workspace?
Open Getting Started, complete one small real task and return to this page when you need the detailed workflow.